Hair braider website checklist: help clients choose a style
Prepare a named style menu, clear pricing details, examples of your own work and instructions for making an appointment. Include the hair preparation and deposit rules you use so clients can choose with confidence. Mark each item as you assemble the material for your braiding website.
Want this built for you? See the top of your own page free before paying.
By Luis Junior
Describe the choices behind a price
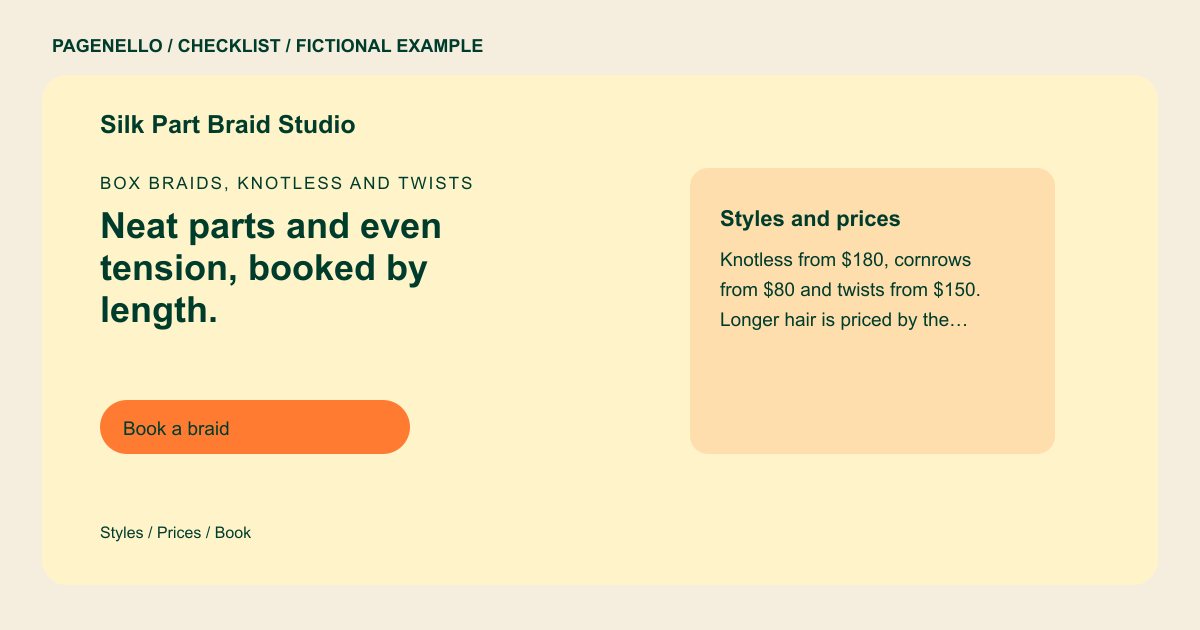
For each braid or twist you offer, explain which length and size the listed price covers. Note whether extensions are included, how long the appointment generally takes and when you need to provide a custom quote.
Pair your work with useful captions
Select photographs of styles you actually created and have permission to share. Label the technique, approximate length and size where relevant, so someone bringing a reference image can compare it with your menu.
Set expectations before the chair
Write down your own preparation instructions, such as washing or stretching, and say whether clients should bring hair. Explain deposits, late arrivals and rescheduling using the policy you apply, then link to your existing booking service.
Hair braiders: checklist
Questions about hair braiding websites
How can clients tell which braid size to book?
Use labeled photos of your work alongside the size names in your menu. Offer a contact method for clients who are unsure before they reserve a long appointment.
Should I include extension hair in the listed price?
That is your business decision. State clearly whether hair is included for each service and give clients the details they need if they must bring their own.
Can the website take a braiding deposit?
A Pagenello page can link to your existing appointment tool, where its deposit process takes place. A new payment or booking system is outside the package.